How to install Mu on macOS with the Official Installer
Installing Mu on macOS is super easy.
Mu will run on any machine running macOS version 10.13 High Sierra or later. There is advice on Apple’s website on how to check your macOS version.
The following (silent) video demonstrates this process on Mac OS Catalina:
Step 1 - Download Mu Installer
- Download the installer for macOS.
Step 2 - Open the Installer
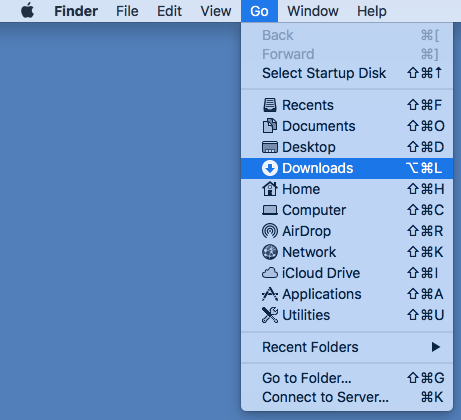
- Open your Downloads folder - click “Go”, then “Downloads” on the Finder menu.
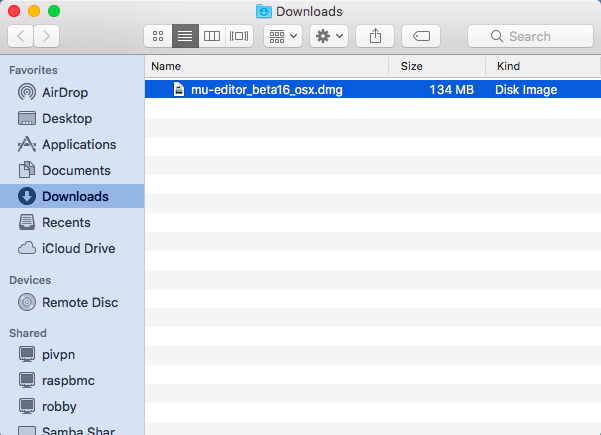
- Double click the Mu installer disk image (a .dmg file).
When you open the installer you’ll be asked to accept the software license agreement and then your computer will verify the package is not corrupted (this may take a couple of minutes).
Step 3 - Install Mu
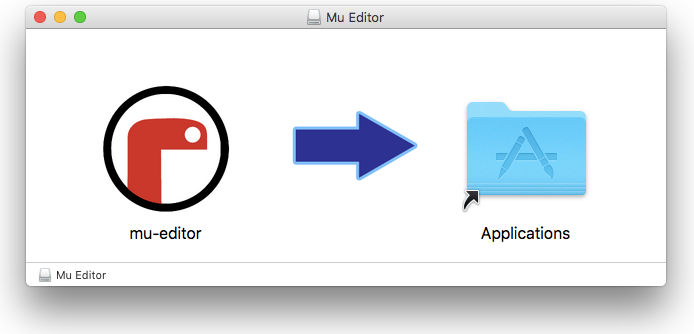
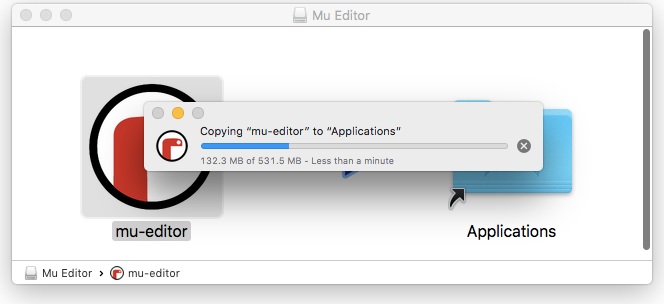
- Click, hold and drag the “Mu” icon into the “Applications” folder.
Step 4 - Installing
Mu will install into the Applications folder on your Mac.
Step 5 - Start Mu
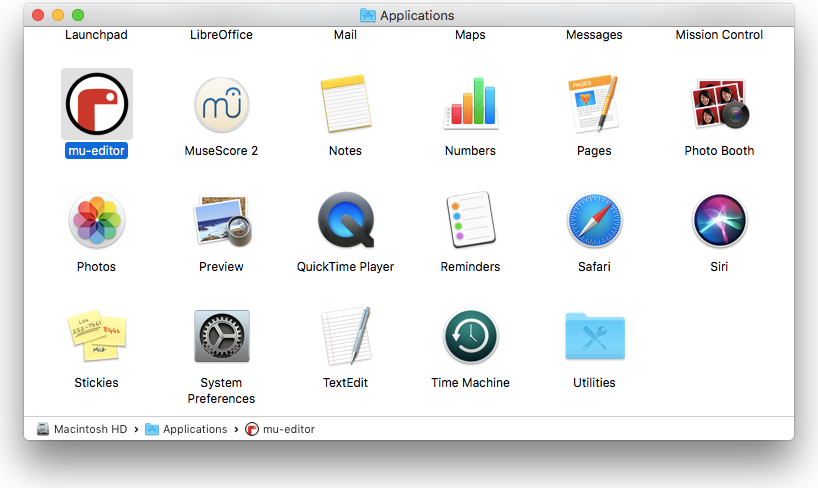
- Open your Applications folder - click “Go”, “Applications” on the Finder menu.

Press the CTRL button and click on the Mu icon. You’ll see a dialog to check you want to open Mu. Click “Open”:
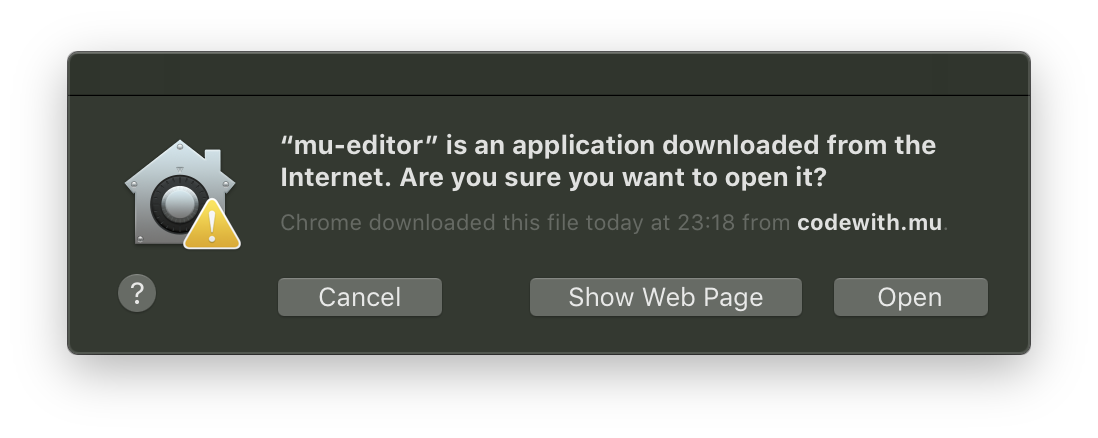
This can take some time as OSX checks the Mu package, but you’ll only ever have to do it once.
Updates to the way OSX works means that when you open Mu for the first time you need to tell your operating system that you trust the application. The simple solution is to CTRL-click the Mu application in your "Applications" folder and then select "Open". If you don't you'll just see a warning pop-up (shown in the video at the top of this page).
If you're running Catalina then you might have to give the app permission to access USB mounted devices. To do that:
- Launch System Preferences.
- Select "Security & Privacy".
- Select the "Privacy" tab at the top.
- In the left column select "Full Disk Access".
- Then, on the right side, click the box next to mu-editor to give it permission.
- If those options are grayed out, you need to select the padlock in the lower left of the dialog box and enter you system password before you can chance the settings.
- Next time you launch Mu you will be able to just double click the Mu icon.